Expert Home Style – For the Price of a Coffee ($3.90)
Master high-end design secrets (Tuscan, Modern) without the expensive consultants.
🛒 Buy NowCreating an inviting home is all about the details, and one often-overlooked area is the ceiling. If you’ve ever felt that your space lacks a touch of elegance or character, you might be craving some stunning ceiling border ideas. Adding a decorative ceiling trim not only enhances the aesthetic appeal of your home, but it can also create the illusion of height and spaciousness—especially important in smaller spaces.
If you are a homeowner, renter, or DIY enthusiast looking for ways to add charm and style to your ceilings, this post is for you. Whether you’re embarking on a renovation or just want to refresh your decor, you’ll find inspiration here. I put together 15 unique ceiling border ideas that are creative, affordable, and perfect for adding that extra detail you’ve been dreaming about. From crown molding designs to minimalist textures, there’s something here to suit every taste and space.
Get ready to explore artistic options that will transform your ceilings from plain to fabulous. You’ll discover practical tips on choosing materials, designs, and styles that fit your vision and budget. Let’s dive into this treasure trove of ideas that will elevate your home decor!
Key Takeaways
– Discover a variety of ceiling border ideas ranging from classic crown molding to modern geometric shapes that can enhance any room’s aesthetic.
– Learn about decorative ceiling trim options that can create the illusion of height, making your small spaces feel larger and more inviting.
– Explore DIY ceiling borders that let you personalize your decor while staying within budget, giving your home a unique touch.
– Find practical applications for each style, including tips on materials and techniques to achieve the best results without overwhelming your space.
– Get inspired by seasonal decor borders and artistic murals that can refresh your home’s look throughout the year.
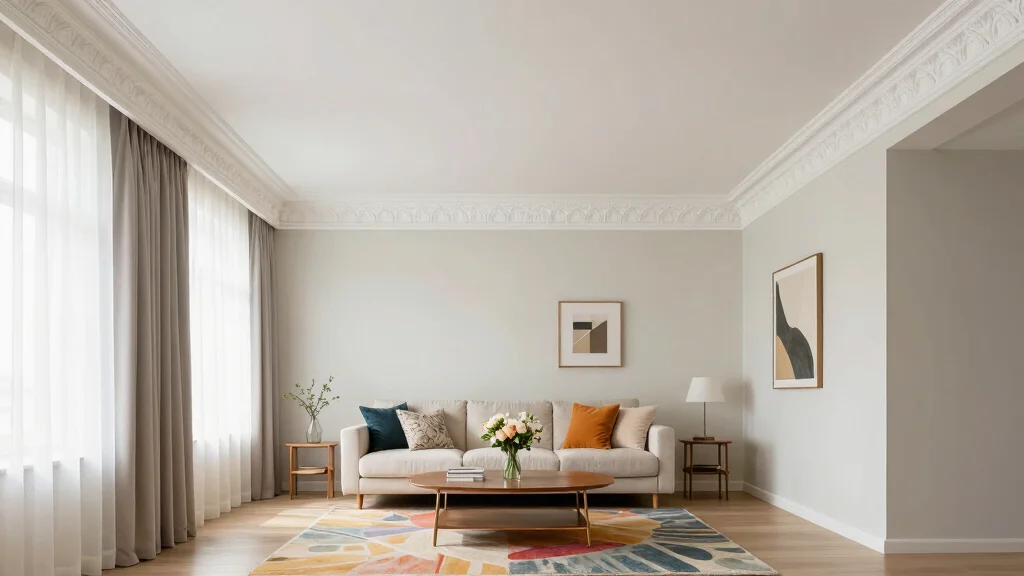
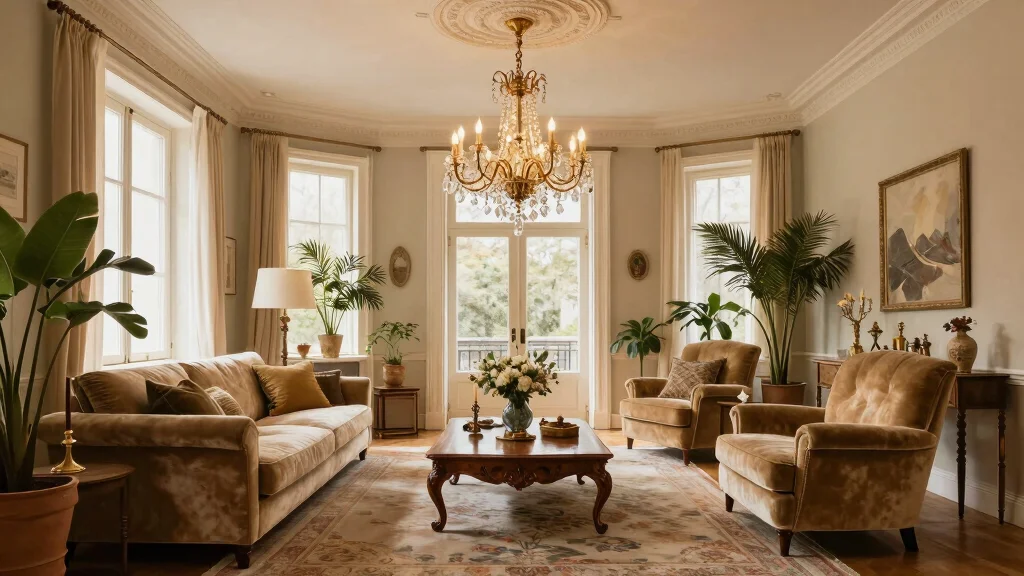
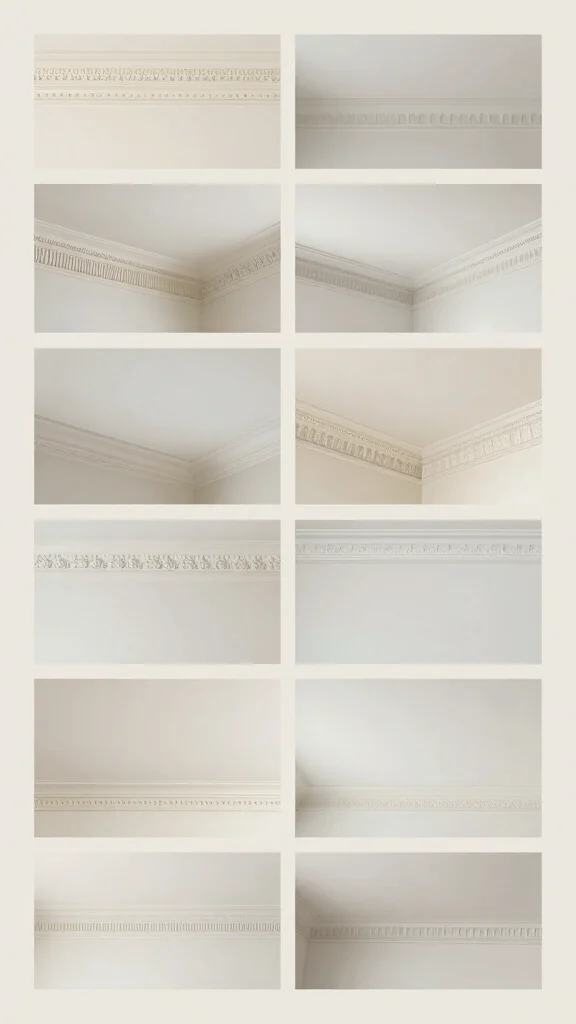
1. Classic Crown Molding
Crown molding is a classic design element that adds an instant touch of sophistication to any room. This exquisite trim draws the eye upward, creating a sense of height and elegance, particularly beneficial in smaller spaces. Whether you choose a sleek, narrow profile for a minimalist look or opt for ornate designs with intricate detailing, crown molding can dramatically enhance your decor.To make the most of crown molding, consider painting it in a light, airy color to brighten your room. Pairing it with light-colored walls or ceilings will amplify the effect, creating a harmonious atmosphere. A smooth finish can modernize the look, while a more rustic, distressed option can lend a cozy, vintage charm.Consider these tips for installation:
– Measure accurately to achieve a flawless fit.
– Use a miter saw for precise angles.
– Paint or stain before installation for simple cleanup.
Crown molding effectively transforms ceilings into striking architectural features, adding depth and style to your overall interior design.
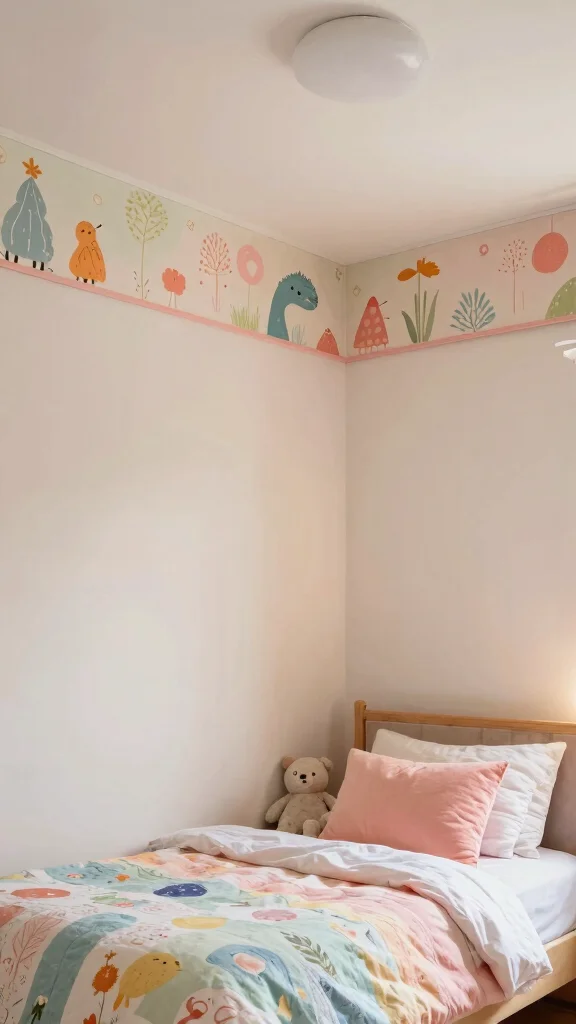
2. Painted Ceiling Borders
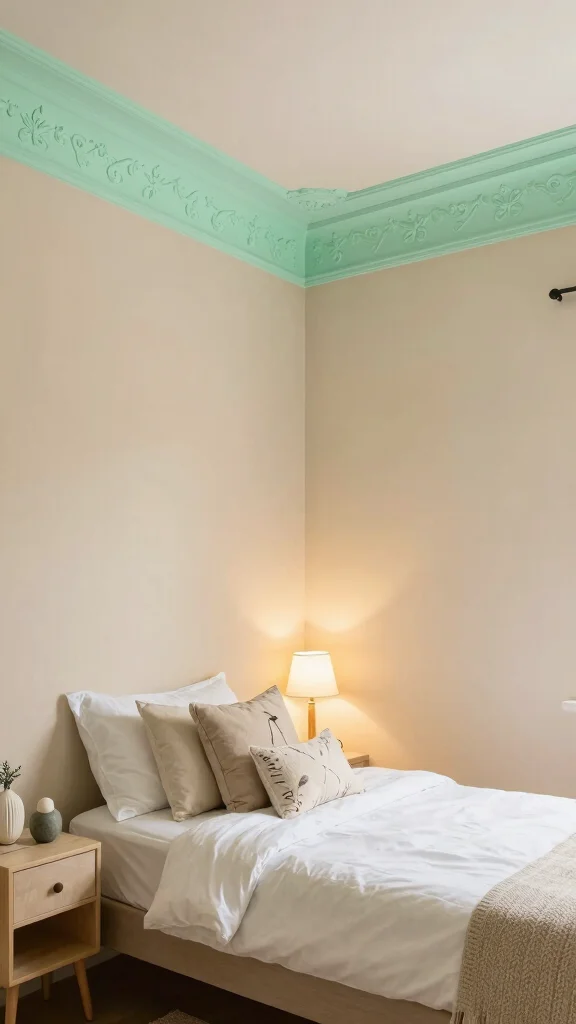
Infusing color into your space can be as simple as adding painted ceiling borders. This playful idea allows you to express your personality without overwhelming the room. Choose a bold, vibrant hue or a soft, subtle shade that harmonizes with your existing decor for a cohesive look.A contrasting color that ties in with your wall accents can create a seamless flow, making the room feel well put together. Alternatively, soft tones can establish a serene atmosphere, particularly in bedrooms or study areas where relaxation is key.DIY painting suggestions:
– Use painter’s tape for crisp, clean lines.
– Select a brush or roller specifically for ceilings.
– Test colors on a small area before committing.
A painted border can instantly invigorate your space, adding a whimsical flair that reflects your unique style while maintaining charm.
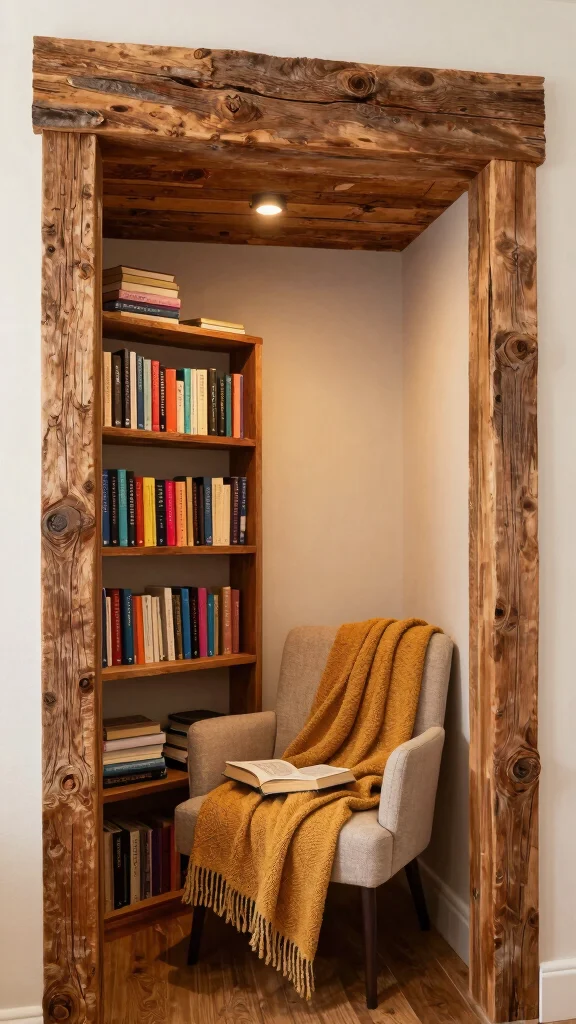
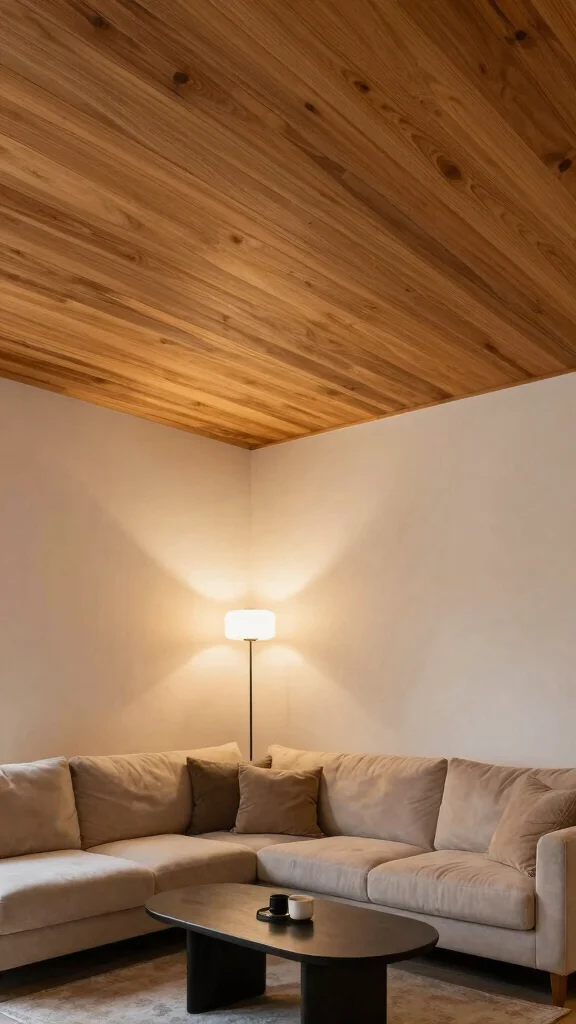
3. Beams for Rustic Charm
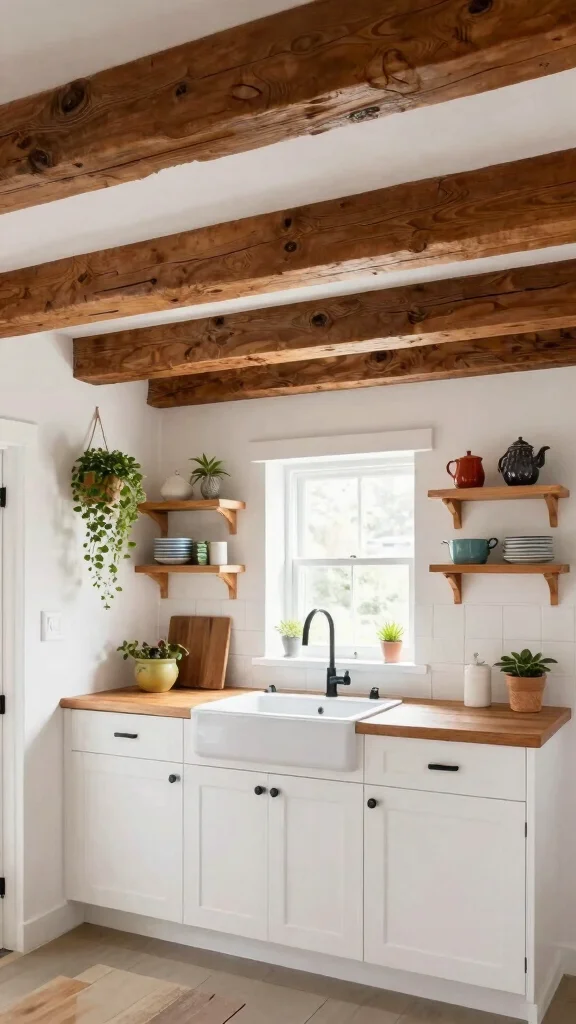
Incorporating wooden beams into your ceiling design is an excellent way to introduce warmth and rustic charm. Beams can be made from real wood or lightweight faux options, making installation easier. Their contrast against the ceiling draws the eye upward, creating an illusion of spaciousness in smaller rooms.Opt for dark-stained beams to add depth and drama, or choose a white-washed finish for a light, airy feel. Beams can also delineate spaces in large areas, providing a natural flow between different zones.Here are some installation tips:
– Use lightweight materials for a more manageable setup.
– Install beams parallel to the longest wall to enhance room length.
– Maintain proper spacing for aesthetics, aligning with furniture layout.
Adding beams infuses character and a welcoming vibe into your space, making them a perfect choice for rustic or farmhouse aesthetics.
🏡 Transform Your Home Today!
Unlock the secrets to stunning ceiling borders and elevate your small space with expert DIY tips and tricks.
4. Geometric Shapes
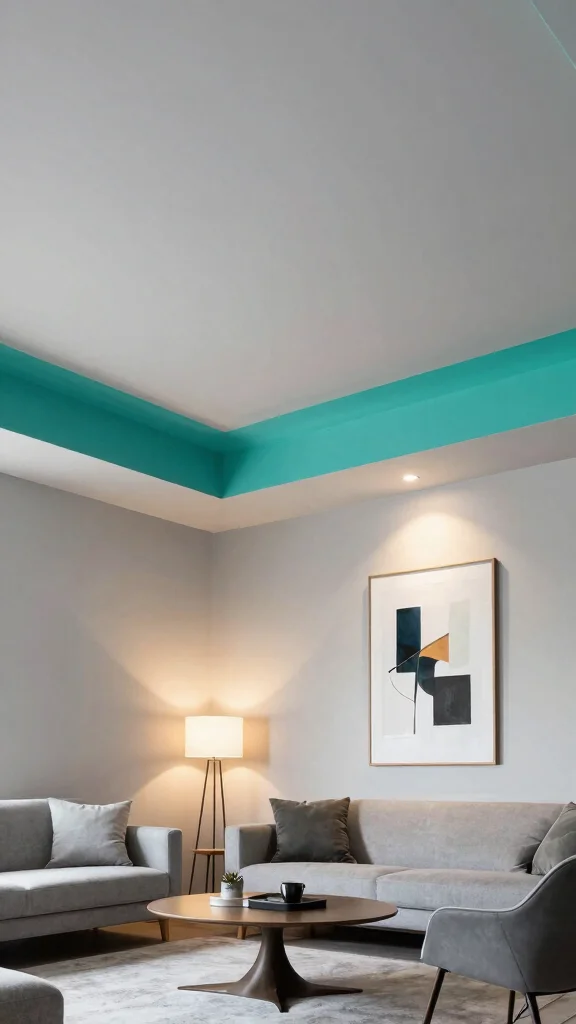
For a contemporary twist, geometric ceiling borders can add an exciting element to your decor. These designs range from simple lines to intricate patterns, providing visual interest and structure without overwhelming the space. Geometric shapes help define the room’s architecture, enhancing its overall aesthetic.Achieve this effect through paint, wallpaper, or even 3D panels that add dimension. Make sure to keep the shapes proportional to your room size; oversized designs may make a small area feel cramped.Implementation tips:
– Use stencils for uniform shapes.
– Stick to a limited color palette for cohesion.
– Experiment with angles and orientations for dynamic focal points.
Geometric ceiling borders are eye-catching and offer a unique way to express your style through creative design.
Key Trade-offs & Our Top Pick
Option 1: Classic Crown Molding
– Pros:
– Adds a timeless elegance to any room.
– Available in various materials like wood and polystyrene, making it versatile.
– Cons:
– Installation can be tricky for beginners without DIY experience.
– Higher cost compared to simpler options.
– Best for: Traditional spaces looking for a refined finish.
Option 2: Painted Ceiling Borders
– Pros:
– Affordable and easy to apply with just a paintbrush.
– Allows for personal expression through color choices.
– Cons:
– Requires regular touch-ups to maintain appearance.
– Limited durability compared to physical trims.
– Best for: Budget-conscious decorators wanting a pop of color.
Option 3: Beams for Rustic Charm
– Pros:
– Instantly creates a cozy, farmhouse feel in any space.
– Can be made from reclaimed wood, adding character.
– Cons:
– Can make a room feel smaller if not used thoughtfully.
– Heavier and may require professional installation.
– Best for: Spaces aiming for a warm, country-inspired look.
Option 4: Geometric Shapes
– Pros:
– Modern and stylish, perfect for contemporary interiors.
– Can draw the eye upward, making ceilings feel taller.
– Cons:
– Might not fit well with traditional decor styles.
– Requires precision in installation for best results.
– Best for: Trendy homes that embrace modern design.
Option 5: Textured Ceiling Borders
– Pros:
– Adds depth and interest to flat ceilings.
– Can be DIY-friendly using paint or plaster.
– Cons:
– May accumulate dust and be harder to clean.
– Can overwhelm small spaces if overdone.
– Best for: Creative decorators wanting to add unique touches.
Best Overall: Classic Crown Molding
Classic crown molding is our top pick for its timeless appeal and versatility. It fits seamlessly into various styles, making it suitable for both traditional and modern spaces. While it may require a higher investment and some installation skill, the long-term durability and elegance it brings are worth it. You’ll find that crown molding not only enhances your room’s aesthetic but also adds value to your home.
Why We Picked This:
We recognize that not everyone may prefer crown molding. Those on a tight budget might lean towards painted borders, while others might want the rustic touch of beams. It’s essential to choose based on your style, budget, and how much effort you want to put into installation. Each option has its unique charm, so think about what best meets your needs!
5. Stenciled Patterns
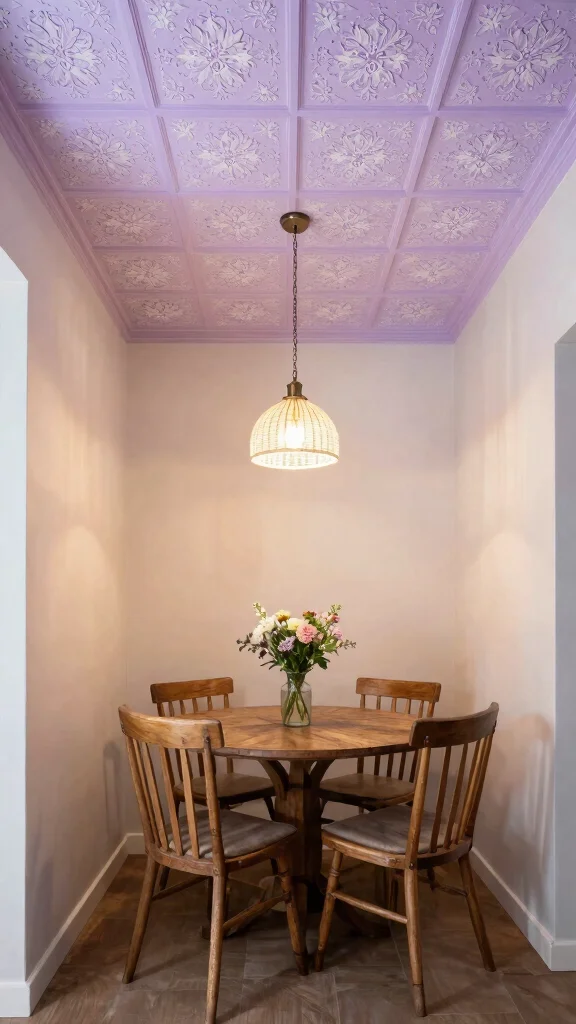
Stencils provide an opportunity to introduce intricate patterns to your ceiling, adding both beauty and a personal touch. This idea works particularly well in smaller rooms, where delicate designs can enhance rather than overpower the space. From floral motifs to elegant swirls, stenciled patterns can beautifully reflect your style.Using stencils invites creativity—consider layering colors or incorporating metallic paints for a stunning finish. You can also tie in the stenciling with other decor elements, such as fabrics or furniture, to create a cohesive look.Stencil application tips:
– Start with a primed, light-colored ceiling for maximum contrast.
– Use a sponge brush for a softer touch.
– Practice on cardboard to perfect your technique.
Stenciled patterns can transform your ceiling into a stunning focal point, making your home feel uniquely yours.
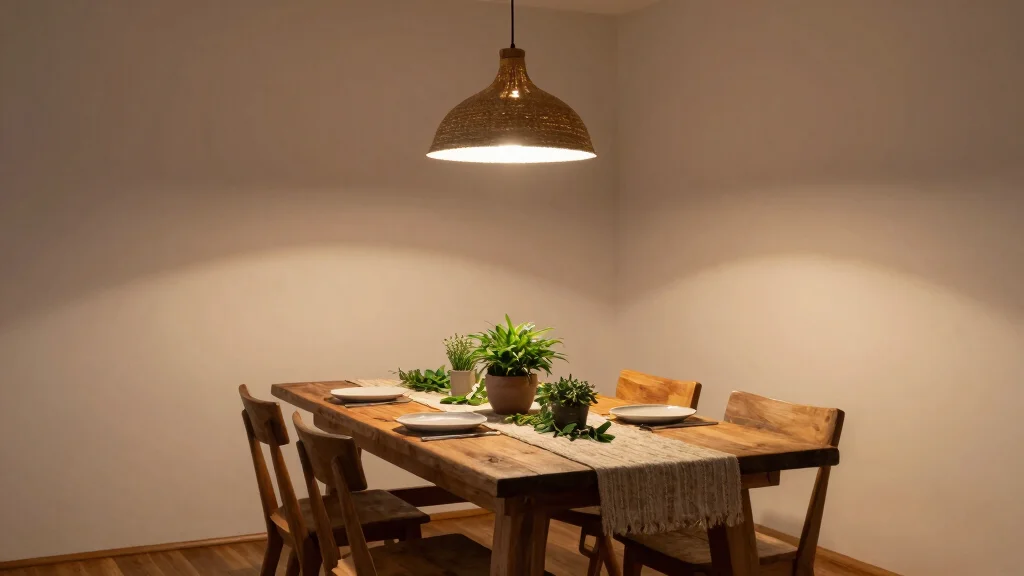
6. Ornate Ceiling Medallions
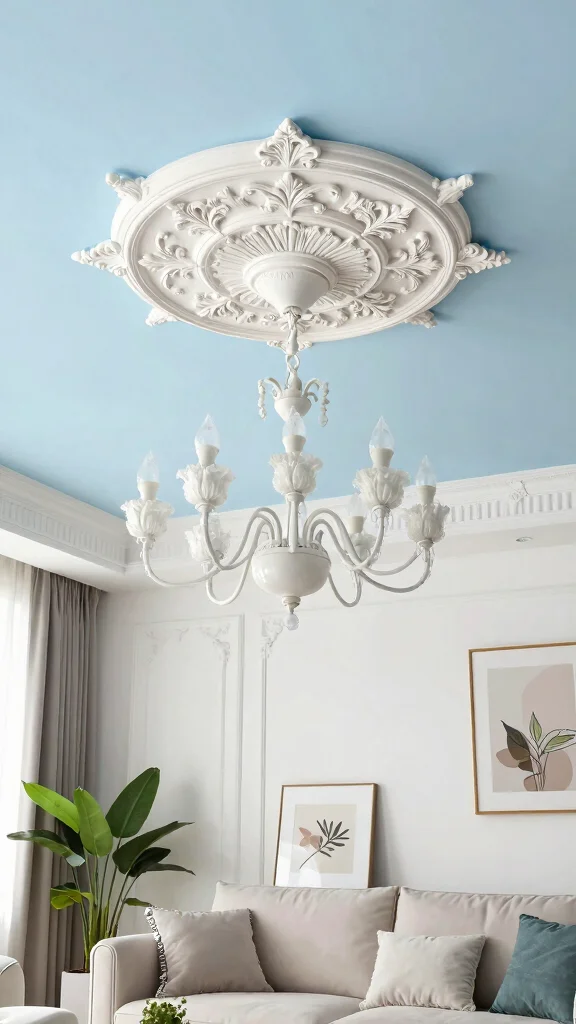
An ornate ceiling medallion serves as a captivating focal point, particularly effective in smaller spaces where you want to make a statement. These decorative accents enhance light fixtures, adding a touch of elegance that complements your overall decor. Available in various sizes and styles, medallions can elevate the aesthetic of any room.Choose a larger medallion if space allows for a dramatic impact, but remember that subtle details can also create a powerful effect in compact areas. The right medallion can add sophistication and depth to your design.Selection tips:
– Choose materials that harmonize with other room elements.
– Paint the medallion in a contrasting color to highlight its shape.
– Position it directly under a focal light fixture to maximize visual impact.
Ornate medallions can introduce a sense of luxury, making your ceilings feel grand and beautifully curated.
Ornate ceiling medallions prove that small spaces can make big statements. As a top pick among ceiling border ideas, choose a larger medallion if space allows for drama, or lean into subtle details for a refined touch. It’s a simple choice that elevates your whole room.
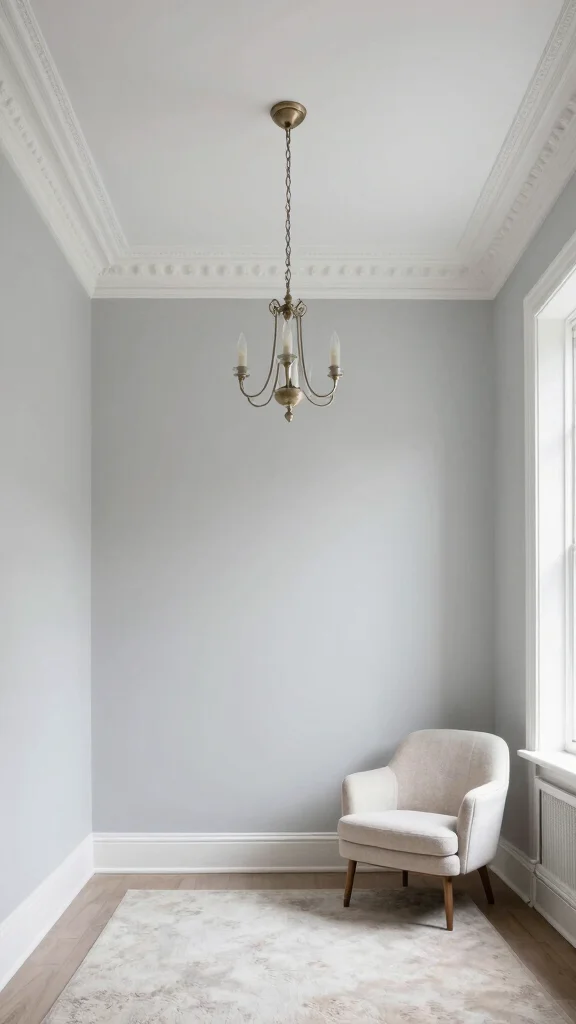
7. Minimalist Beaded Trim
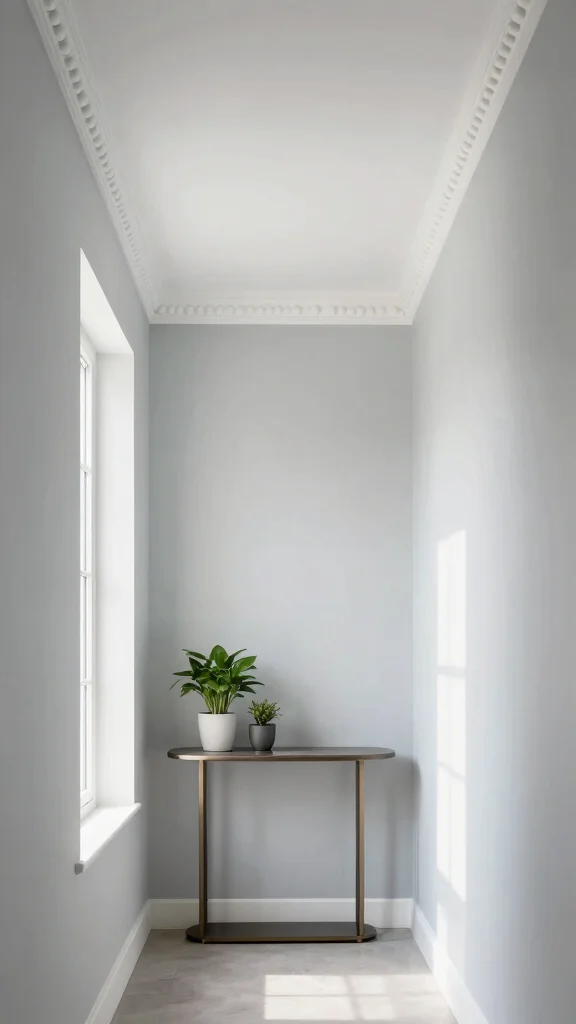
For those who prefer a subtle touch, minimalist beaded trim offers understated elegance to your ceilings. This style is sleek and adds just enough detail to create visual interest without overwhelming the space. Beaded trim is ideal for small areas, seamlessly complementing modern design elements.Paint the trim in colors that coordinate with your walls or opt for a contrasting hue for added emphasis. This trim is perfect for entryways, hallways, and bedrooms, where a hint of sophistication is desired without excessive flash.Installation tips:
– Ensure the trim is appropriately sized for ceiling height.
– Use adhesive for simple application, especially in tight spaces.
Minimalist beaded trim provides the chic finishing touch your space craves, ensuring elegance without sacrificing style.
You might also like
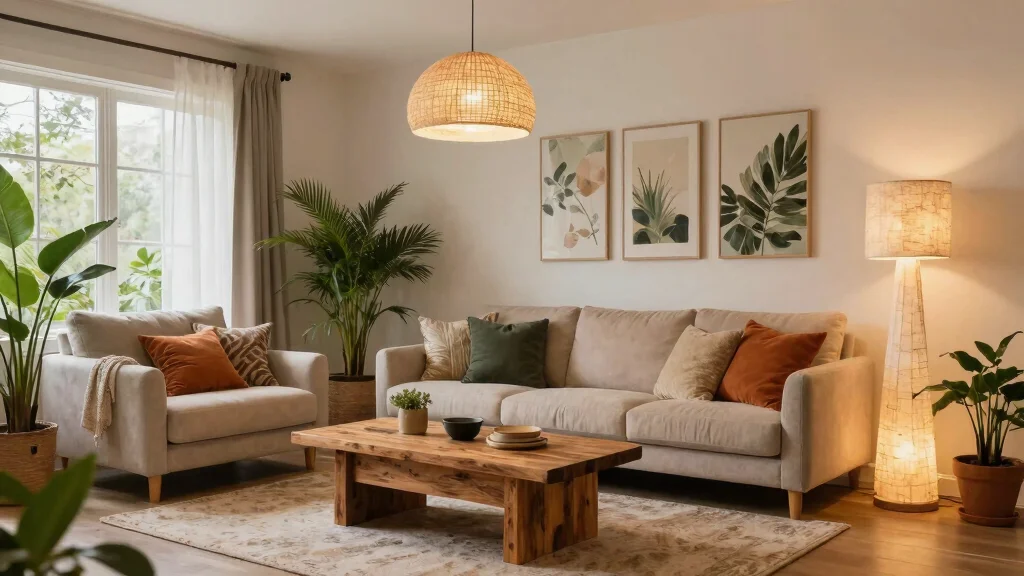
8. Textured Ceiling Borders
Textured ceiling borders can introduce a unique depth and character to your room. Create texture using materials like wood, plaster, or fabric, adding a tactile element that draws the eye. This can enrich your decor while providing a visually stimulating experience.Consider a rough-hewn wooden border for a rustic vibe, or soft fabric to bring warmth and comfort to your space. Textured borders can also absorb sound, making them a smart choice for bedrooms or home offices.Texture application tips:
– Use lightweight materials for easier handling.
– Paint or stain to match your color scheme.
– Layer different textures for a personalized look.
Textured ceiling borders enrich your environment, perfect for anyone looking to infuse character and individuality into their home.
9. Fabric-Covered Borders
For a cozy, inviting touch, fabric-covered ceiling borders can add warmth and texture to your space. Choose from various fabrics like linen, cotton, or patterned textiles that echo your style. This softening element can make a small room feel more homey and comfortable.To create fabric-covered borders, first apply a thin layer of batting or foam for softness, then attach your chosen fabric. This method can produce a cloud-like effect, ideal for nurseries or cozy bedrooms.Fabric tips:
– Select fabrics that harmonize with your room’s color scheme.
– Use fabric adhesive for straightforward application.
– Keep edges neat to prevent fraying.
Fabric-covered borders can turn your ceiling into an elegant, tactile feature, making your space feel inviting and uniquely styled.
10. Lighting-Centric Borders
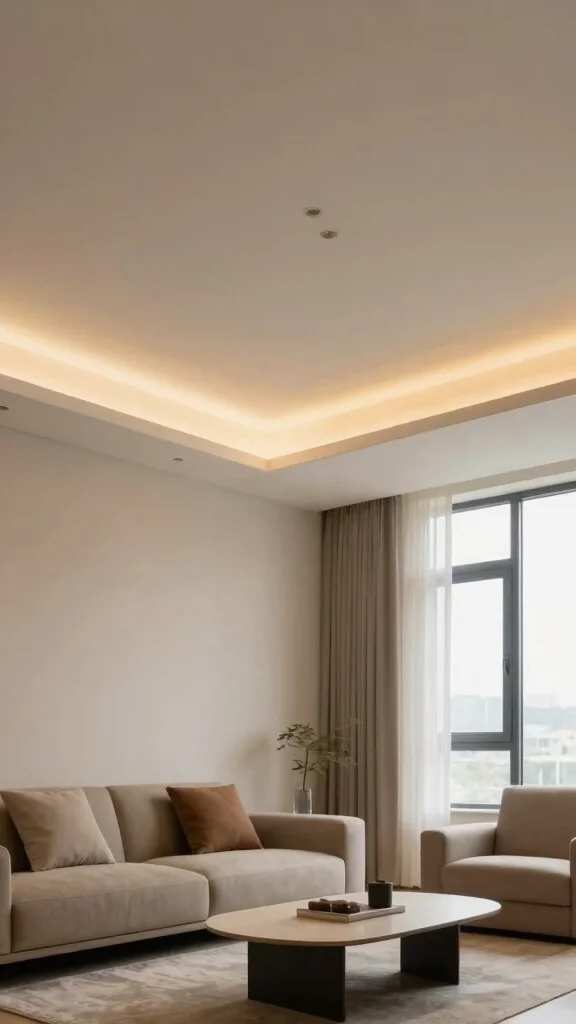
Let your ceiling border shine with lighting-centric designs that incorporate LED strips or recessed lighting. This approach not only highlights your borders but also enhances the entire room’s ambiance, especially in small spaces where a cozy atmosphere is vital.With adjustable colors and brightness, you can easily shift the room’s mood—choose a soft, warm glow for relaxation or bright, cool light for productivity.Installation tips:
– Opt for energy-efficient LED options for sustainability.
– Use diffusers to soften light and minimize harsh shadows.
– Incorporate dimmers for adjustable brightness.
Lighting-centric borders can elevate your interior design, transforming your space into a functional and stylish sanctuary.
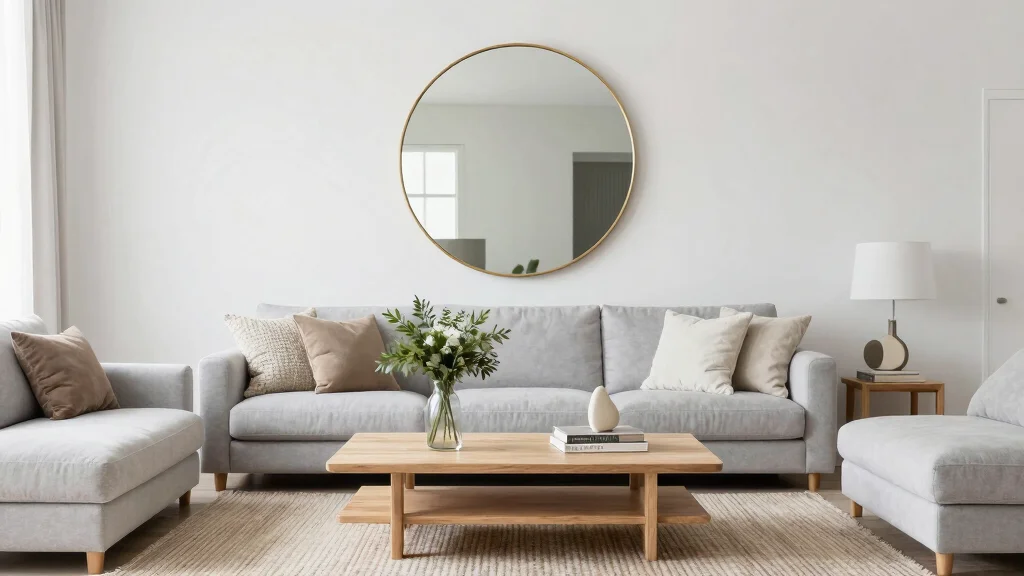
11. Decorative Wall-Ceiling Transition
Decorative features at the wall-ceiling transition can create a sense of spaciousness by guiding the eye upward. Techniques such as wallpaper, painted stripes, or wall art extending to the ceiling can achieve this effect beautifully. A contrasting color or pattern where the wall meets the ceiling can enhance the overall mood of the room.This method works particularly well in smaller spaces, where traditional borders might feel too heavy and overwhelming.Design suggestions:
– Consider bold patterns for a striking look.
– Use light colors on upper walls for an airy feel.
– Ensure the pattern complements the overall room theme.
This approach not only enhances your ceiling but also ties together other design elements, creating a cohesive and thoughtfully curated environment.
Fun fact: extending wall art to the ceiling is one of the best ceiling border ideas for small spaces. It visually lifts the room by guiding the eye upward with wallpaper, painted stripes, or bold color at the wall-ceiling transition. Try bold contrasts to enhance mood and maximize perceived space.
12. Faux Finishes
Faux finishes offer a creative way to transform your ceiling into a captivating feature. Techniques like sponge painting, rag rolling, or stenciling can create stunning effects that mimic more expensive materials like marble or wood. These finishes add depth and character, making them ideal for small spaces where visual impact is desired.The right faux finish can evoke warmth or drama, depending on your color choices and techniques, enhancing the overall aesthetic of your space.Faux finish tips:
– Practice your technique on cardboard before applying it to the ceiling.
– Choose colors that complement your decor.
– Be patient, as many faux finishes require multiple layers and drying time.
Incorporating faux finishes can lead to a beautifully designed ceiling that tells a unique story and adds an unexpected twist to your home decor.
You Might Also Like
13. Integrated Storage Solutions
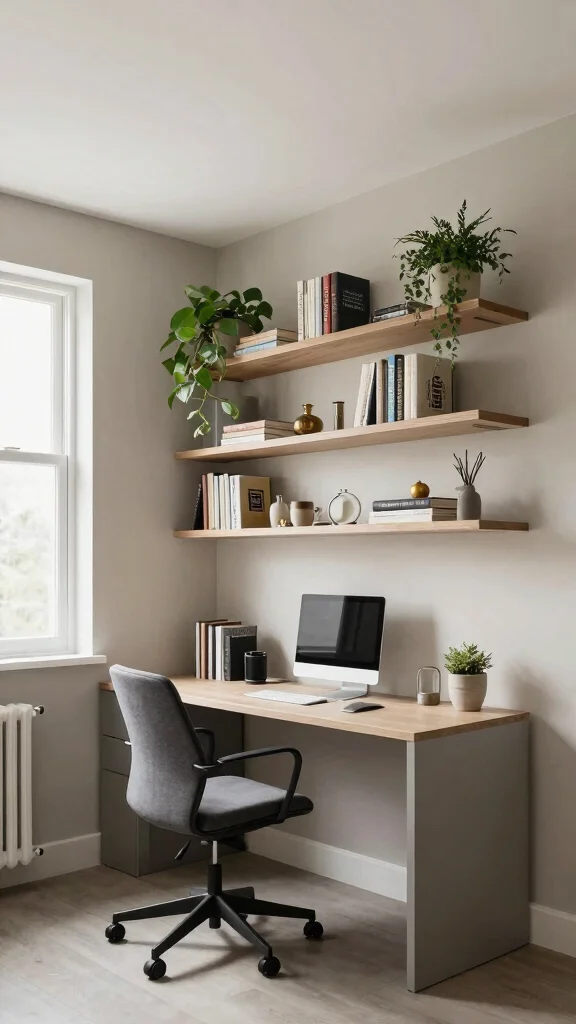
Ceiling borders can double as integrated storage solutions, maximizing functionality in small spaces. Clever designs that incorporate shelving or hidden compartments allow you to keep items organized while enhancing the visual appeal of the ceiling.Consider decorative shelves around the upper perimeter for displaying small objects or plants. Alternatively, create hidden compartments that blend seamlessly with the ceiling, providing discreet storage for out-of-sight items.Implementation ideas:
– Ensure shelves are sturdy enough for decor.
– Choose colors that meld with the ceiling for a cohesive look.
– Keep decorative items minimal to avoid clutter.
Integrated storage solutions enhance both style and utility, bringing efficiency to your small space.
14. Seasonal Decor Borders
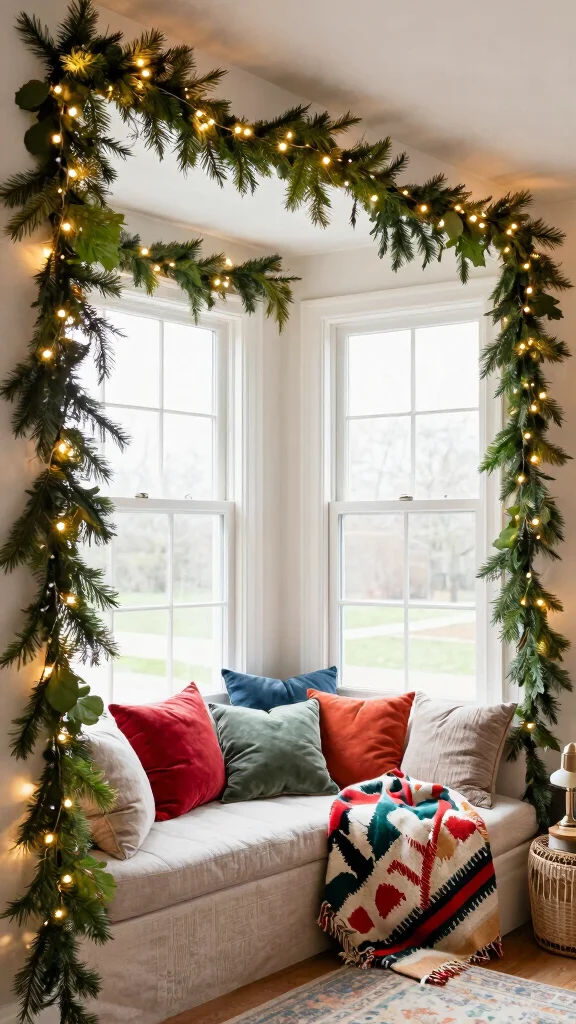
If you enjoy changing your decor with the seasons, consider adjustable seasonal decor borders for your ceiling. Using removable adhesive strips or clips allows you to swap decorative elements throughout the year, such as garlands, string lights, or fabric drapes that showcase seasonal colors and themes.This dynamic approach keeps your space fresh and inviting, offering an interactive element that celebrates seasonal changes. It also provides a canvas for your creativity, making your environment engaging and lively.Implementation tips:
– Ensure seasonal decorations are lightweight to avoid ceiling damage.
– Use colors that enhance your existing decor.
– Keep adjustments simple to avoid overwhelming the space.
Seasonal decor borders introduce a playful spirit to your home, allowing you to celebrate each season with style and flair.
Seasonal decor borders turn ceiling ideas into a daily mood board—swap garlands, lights, or fabrics in minutes. It’s a simple, budget-friendly way to keep your home feeling fresh with every season, proving ceiling border ideas can transform small spaces.
15. Artistic Murals
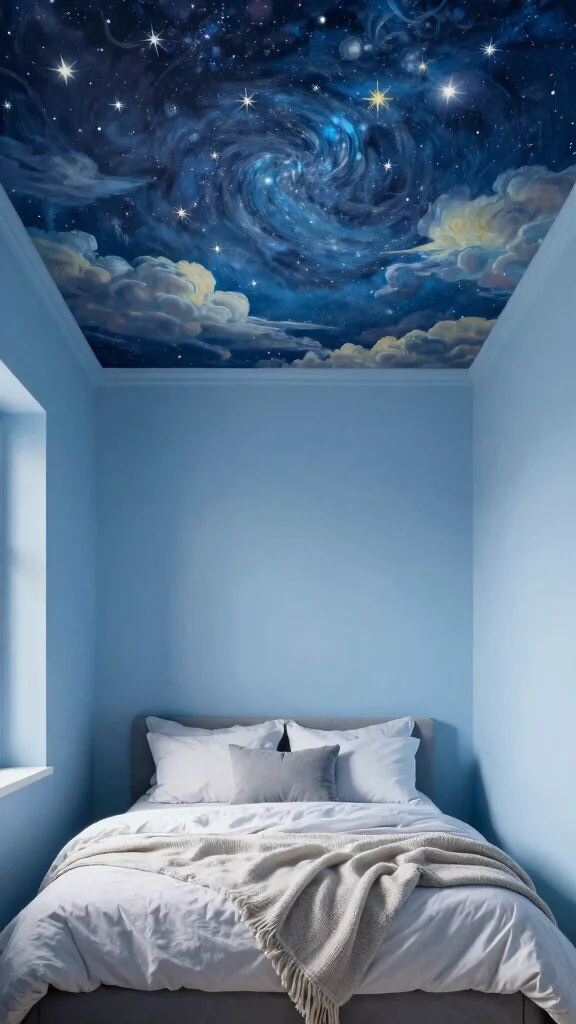
One of the most striking ceiling border ideas is integrating artistic murals that span across the ceiling. This bold choice transforms a small space into a captivating work of art, instantly drawing attention. Select designs that resonate with you, such as botanical themes, celestial patterns, or abstract art.Murals create a breathtaking focal point while enhancing the room’s atmosphere and personality. Just ensure the mural complements the other decor elements for a balanced look.Mural tips:
– Collaborate with a local artist for a unique touch or use removable wall decals for an easier installation.
– Keep the rest of the room’s decor minimal to let the mural shine.
– Choose a theme that suits the room’s purpose—restful themes for bedrooms and vibrant motifs for living areas.
Artistic murals can elevate your space, making it feel personalized and inspiring.
Conclusion
Ceiling border ideas are a fantastic way to infuse elegance into your home, especially in smaller spaces where every detail counts. Each of these suggestions offers unique approaches, allowing you to express personal style while maximizing functionality. Whether you opt for timeless crown molding or daring artistic murals, each idea has the potential to transform your ceiling into a statement piece. Don’t hesitate to mix and match these concepts to create a ceiling that not only complements your decor but also showcases your creativity and flair.
Frequently Asked Questions
What are the best ceiling border ideas for small spaces to add elegance?
For small spaces, choose ceiling border ideas that draw the eye upward without overwhelming the room.
Opt for slim profiles or crown molding designs with a light, neutral finish to keep ceilings feeling airy. Use decorative ceiling trim sparingly as a refined interior design accents while pairing with ceiling border styles that don’t overpower.
Installation basics: measure accurately, cut at precise angles with a miter saw, attach with adhesive and finishing nails, fill gaps with caulk, then paint to match wall or ceiling for a seamless look.
How do I choose the right ceiling border style for a room with low ceilings?
When ceiling height is a constraint, go for understated ceiling border styles that add sophistication without shrinking the space. Pick a narrow crown molding design and paint it in the same color as the ceiling or walls to minimize contrast. Use ceiling border styles that are slim, and use interior design accents to tie the border to your décor. Finally, plan around natural light: brighter rooms with lighter trims feel more expansive.
Practical tip: keep the border centered along the room’s edge and avoid heavy, ornate profiles.
Are DIY ceiling borders feasible for beginners, and what tools do I need?
Absolutely—DIY ceiling borders can be very doable with a little planning. Start with a simple profile and a clear plan for each wall run. Gather essential tools: miter saw, level, tape measure, utility knife, painter’s tape, adhesive or finishing nails, caulk, and a sanding block. Step-by-step: dry-fit the pieces, apply adhesive, secure with nails, fill gaps with caulk, sand smooth, and finish with paint or stain. Work from a stable ladder, and enlist a helper for longer sections. DIY ceiling borders are a great way to personalize small spaces on a budget.
How can ceiling borders complement crown molding designs without making the room feel cramped?
The key is balance—scale, color, and finish should work in harmony. Pair a thin ceiling border idea with light or same-color tones to create a cohesive line that doesn’t shout. Choose crown molding designs with a similar profile for a unified look, or opt for a subtle contrasting trim to highlight architectural features. Use interior design accents—such as textiles, lamps, and wall art—in coordinated colors to create a cohesive, airy feel. Remember: in small spaces, less is more.
What color schemes and finishes work best for ceiling border ideas in small spaces?
In small rooms, light colors like white, ivory, or pale pastels on the ceiling border reflect light and visually expand the space. A crisp white decorative ceiling trim on a white ceiling or a barely tinted color can feel elegant and spacious. Materials and finishes matter too: matte trims hide imperfections, while satin or gloss finishes can brighten the room where natural light exists. Test swatches on a discreet area, then apply to the border around the room. Use ceiling border ideas to subtly highlight architectural lines without overpowering the room.
Related Topics
ceiling border ideas
decorative ceiling trim
crown molding designs
small space decor
DIY ceiling borders
interior design accents
elegant details
modern ceiling styles
beginner friendly
affordable upgrades
home improvement
stylish interiors