
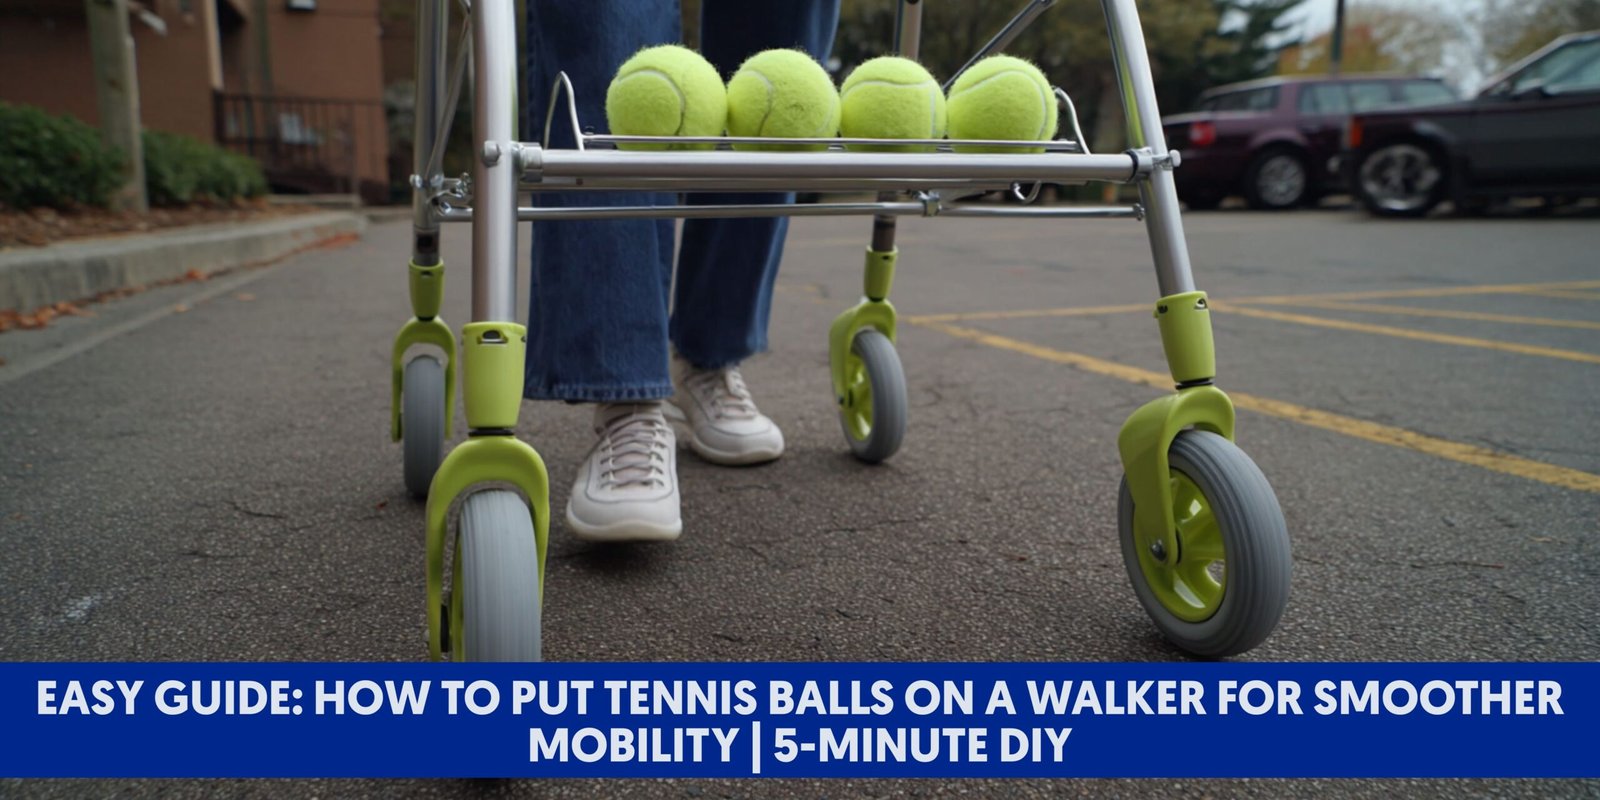
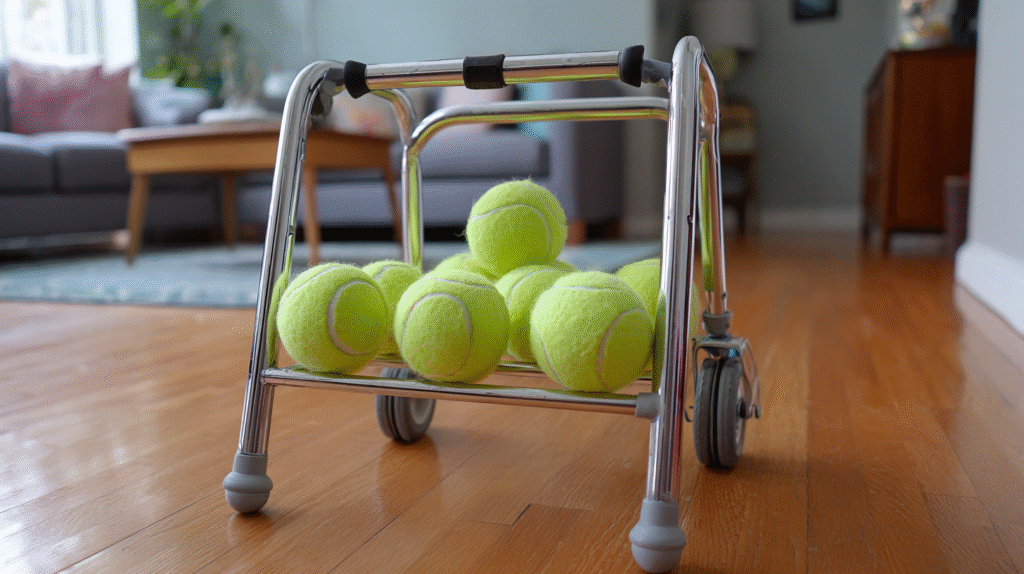
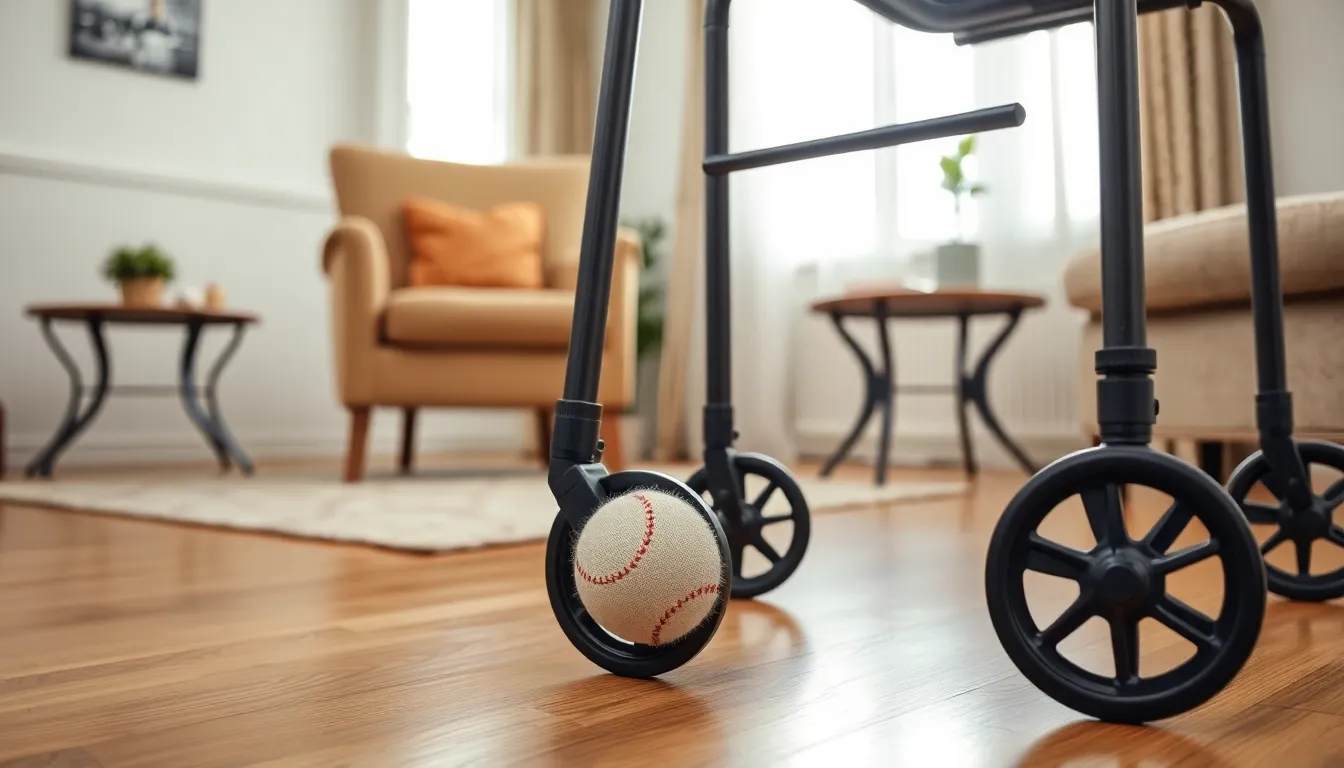
Wondering how to put tennis balls on a walker? This simple modification can make a industry of difference for mobility aid users, providing smoother movement and protecting floors from scratches. It’s an inexpensive upgrade that’s become incredibly popular among seniors and those recovering from injuries.
Adding tennis balls to your walker isn’t just practical—it’s also surprisingly easy to do yourself. With just a few household items and about five minutes of your time, you’ll transform your standard walker into a smoother-gliding mobility device. Whether you’re preparing a walker for yourself or helping a loved one, this straightforward customization offers immediate benefits for daily use.
Why Tennis Balls Are Used on Walkers
Tennis balls on walkers significantly improve mobility by reducing friction between the walker’s legs and the ground. This simple modification creates a smoother gliding experience across various surfaces like carpet, tile, and hardwood floors. The soft rubber exterior of tennis balls acts as a cushion, absorbing small bumps and transitions between flooring types.
Many of my older clients report that tennis ball-equipped walkers require less physical effort to maneuver. One 72-year-old gentleman I worked with mentioned that before adding tennis balls, his arms would tire quickly from lifting and repositioning his walker. After the modification, he could comfortably navigate his home for longer periods.
Tennis balls also protect your flooring from damage. The metal tips of standard walkers can scratch hardwood, tile, and laminate surfaces, leaving unsightly marks that are expensive to repair. I’ve seen this firsthand when visiting rehabilitation centers where non-modified walkers had created visible wear patterns on the floors.
The cost-effectiveness of this solution can’t be overstated. Tennis balls typically cost $3-5 for a can of three, making this an affordable accessibility improvement. In comparison, commercial walker glides or skis often retail for $15-30 per set. Many of my clients appreciate this budget-friendly option, especially those on fixed incomes.
Tennis balls also provide enhanced stability on outdoor surfaces. The textured felt exterior grips slightly on rough concrete or asphalt, preventing unexpected slides. During community walks with my senior tennis club, members with ball-equipped walkers navigate outdoor paths more confidently than those using standard walker tips.
Benefits of Adding Tennis Balls to Your Walker
Tennis balls transform your walker into a more user-friendly mobility aid through several key improvements. The soft rubber exterior creates enhanced traction on smooth surfaces, dramatically reducing the risk of slipping during daily activities. You’ll notice immediate stability improvements when handling between different flooring types in your home.
The noise reduction is remarkable when you switch from standard walker tips to tennis balls. The harsh scraping sound disappears as tennis balls cushion contact with hard floors, making your movements more discreet. This quieter operation benefits both you and others in shared living spaces.
Floor protection represents another important advantage of this modification. Tennis balls create a protective barrier between your walker’s hard metal legs and delicate flooring surfaces. Your hardwood, tile, and laminate floors remain scratch-free as the soft tennis ball surface glides across them instead of dragging abrasively.
Movement becomes noticeably smoother with tennis balls installed. The balls create a slight lifting effect that reduces friction, allowing your walker to glide rather than stick on carpets and rugs. You’ll experience less resistance when moving, conserving energy during longer periods of walker use.
The cost-effectiveness of this solution can’t be overstated. Commercial walker glides often cost $15-30 per set, while a can of three tennis balls typically costs under $5 at discount stores. This affordable modification delivers professional-level improvements without straining your budget.
Materials Needed for the Installation
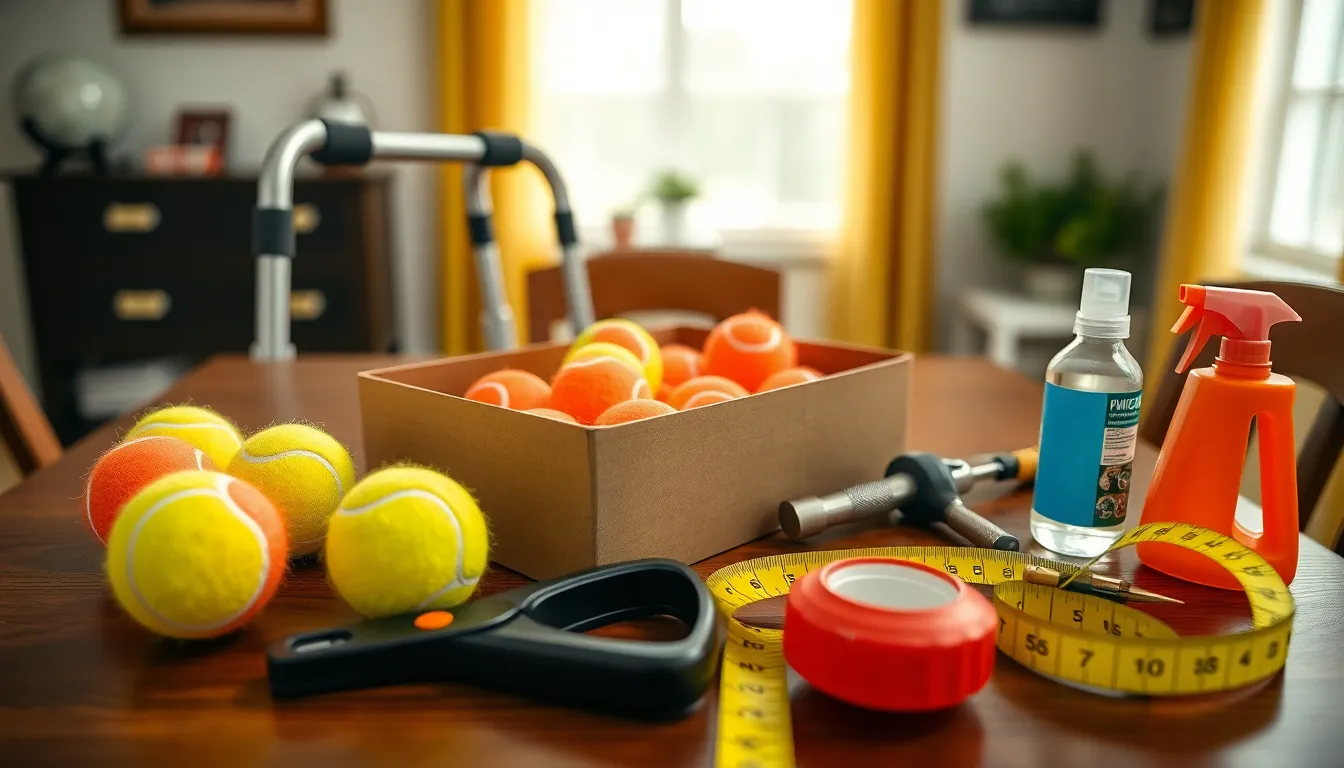
Tennis ball installation on walkers requires just a few simple items you likely already have around your home. Gathering these materials before starting makes the process quick and efficient.
Essential items:
- Tennis balls (regular size) – Standard tennis balls work perfectly for this modification
- Box cutter or sharp utility knife – For creating precise slits in the tennis balls
- Stabilizing device – Something to hold the ball steady while cutting, such as a vise, old tennis racket strings, or even a friend’s helping hand
Optional but helpful:
- Hammer and nail – These tools help puncture and release air from the ball, making it softer and easier to cut
- Disinfectant – For sanitizing the tennis balls before attaching them to the walker
- Measuring tape – To ensure your walker legs aren’t too wide for standard tennis balls
During my years coaching tennis, I’ve helped many seniors adapt their mobility aids, and I’ve found these basic materials are all you need for a successful installation. The beauty of this DIY project is its simplicity—no specialized equipment required, just common household items that transform walker functionality in minutes.
Tennis balls with bright colors offer the added benefit of increased visibility, particularly helpful for those with visual impairments. Green balls are standard, but you might consider yellow or orange options for enhanced visibility in low-light conditions.
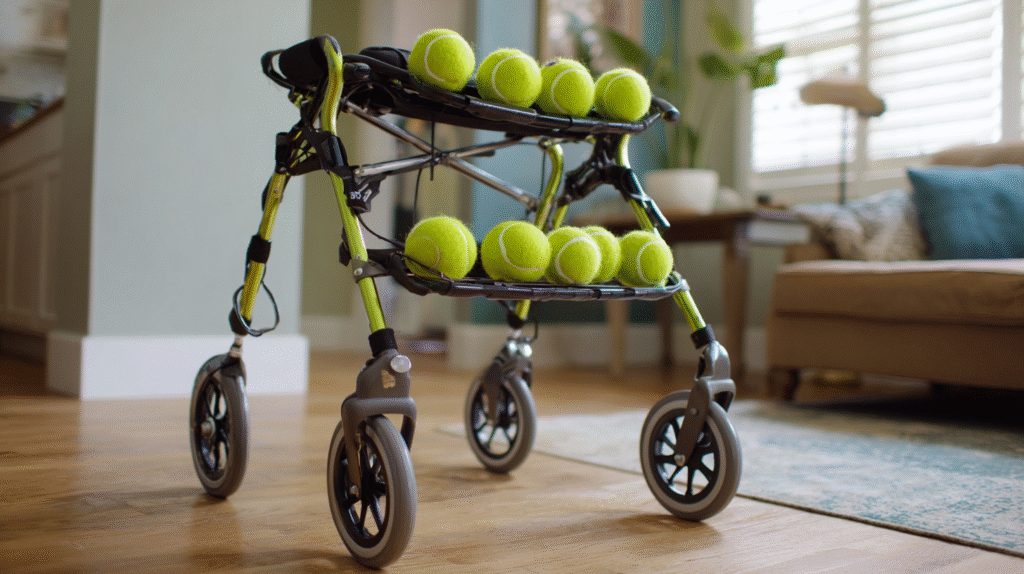
Step-by-Step Guide to Attaching Tennis Balls
Tennis balls transform your walker’s functionality in just a few simple steps. This practical modification takes less than five minutes to complete and creates a smoother, quieter walking experience.
Preparing the Tennis Balls
Tennis balls require proper preparation before attachment to ensure optimal performance. Clean each ball thoroughly with warm soapy water, removing any dirt or debris that might affect grip quality. Dry the balls completely with a clean towel to prevent slippage once attached. Standard-sized, durable tennis balls work best for this application, as they provide the right balance of cushioning and stability. Fresh balls offer longer-lasting performance, but gently used ones function effectively as well.
Marking and Cutting the Tennis Balls
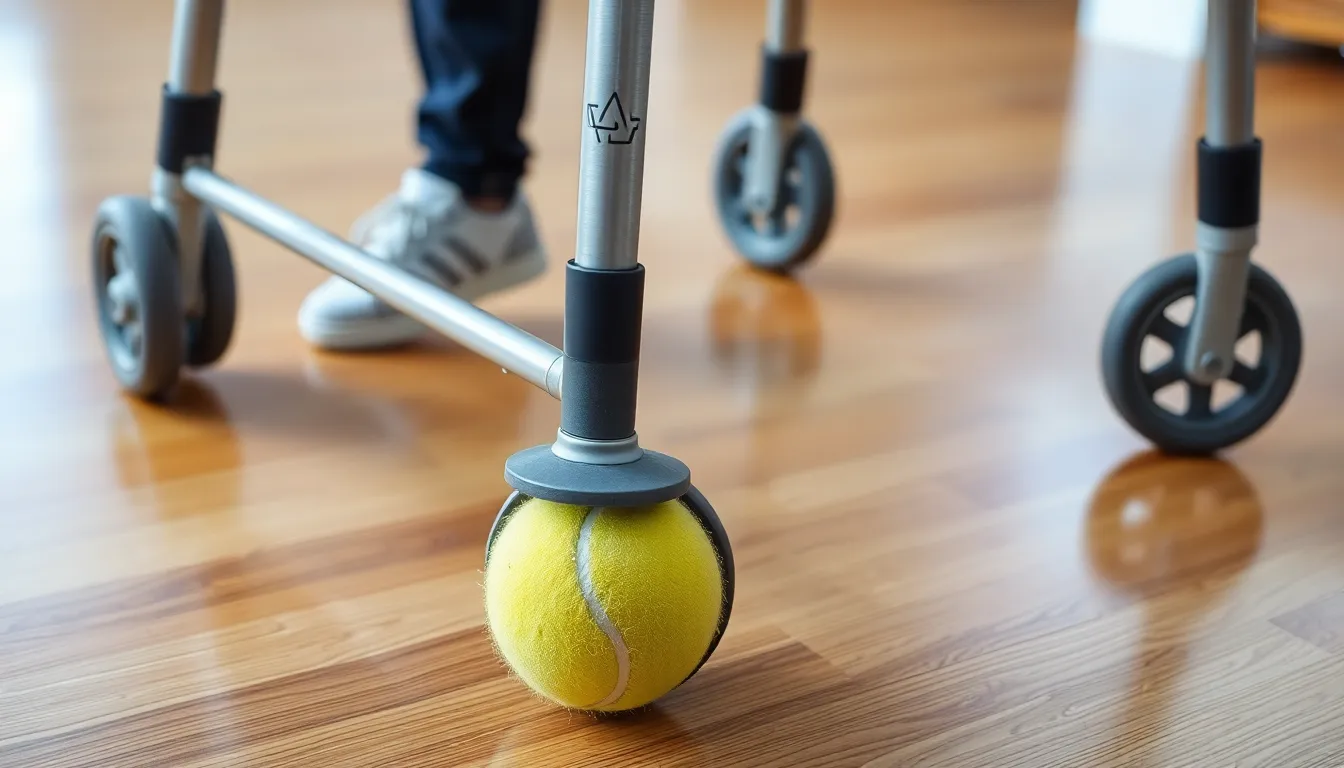
Cutting tennis balls correctly creates the perfect fit for walker legs. First, stabilize each ball to prevent movement during cutting—place it in a vice, old tennis racket, or between your knees for stability. For easier cutting, tap a small nail into the ball to release air pressure and create a starter hole. Using a sharp box cutter or utility knife, make an X-shaped incision approximately 1.5-2 inches long on one side of the ball. Cut only through the rubber shell without penetrating deeply into the core. The X-cut creates flexible flaps that grip the walker leg securely while maintaining the ball’s structural integrity. Working with one ball at a time ensures consistency across all cuts.
Securing the Balls to Walker Legs
Attaching tennis balls to walker legs requires proper positioning for maximum effectiveness. Lay your walker on its side to make the legs easily accessible. Press each prepared tennis ball firmly onto the bottom of a walker leg, allowing the X-cut flaps to open and slide over the leg. Push the ball completely onto the leg, then pull back slightly to create a secure fit. The ball should sit snugly without wobbling but shouldn’t be so tight that it damages the walker’s structure. Test each attachment by gently moving the walker to ensure all balls remain securely in place. The properly attached balls create smoother movement across various floor surfaces while reducing noise and protecting floors from scratches.
Alternative Methods for Installation
Tennis balls aren’t the only solution for improving walker mobility. There are several alternatives that offer similar benefits with different installation processes, saving you time and effort while achieving professional results.
Using Pre-Cut Tennis Balls
Pre-cut tennis balls eliminate the hassle of cutting tennis balls yourself. These specially designed balls come with slots already cut into them, making installation quick and straightforward. Simply align the pre-cut opening with your walker leg and push it on—no knife required.
Many medical supply stores and online retailers offer these ready-to-use options. They typically cost slightly more than regular tennis balls but save considerable time and reduce the risk of injury from cutting. The pre-cut openings are precisely sized to fit standard walker legs, ensuring a secure attachment.
During my years coaching seniors on mobility aid adaptations, I’ve found pre-cut balls particularly helpful for those with arthritis or limited hand strength. One of my clients, Martha, who struggles with grip strength, was able to install pre-cut balls independently in less than two minutes—a task that would have been impossible with regular tennis balls.
Tennis Ball Glides and Commercial Products
Commercial walker glides offer a more refined alternative to tennis balls. These purpose-built accessories are specifically designed for walkers, featuring durable materials that last significantly longer than tennis balls.
Tennis ball glides typically feature:
- Reinforced rubber construction that resists wear and tear
- Pre-formed slots that snap securely onto walker legs
- Low-profile designs that reduce the likelihood of catching on obstacles
- Specialized treads for improved traction on various surfaces
Many commercial options use high-quality materials that provide better grip on slippery surfaces while maintaining smooth gliding on carpets. Products like “Walker Glides” and “EZ Glides” offer tool-free installation and come in various colors to match your walker.
The investment in commercial glides (typically $10-15 for a set of four) pays off through extended durability. While working with rehabilitation centers, I’ve observed commercial glides lasting 3-4 times longer than tennis balls, making them more economical in the long run even though the higher initial cost.
Some premium models even feature replaceable pads, allowing you to refresh worn surfaces without purchasing an entirely new set. This sustainable approach appeals to many of my clients who prefer minimizing waste while maintaining optimal walker performance.
Maintenance and Replacement Tips
Tennis balls on walkers require regular maintenance to ensure optimal performance and safety. Inspect your tennis balls weekly for signs of wear including tears, flattening, or loss of grip. After working with dozens of seniors in rehabilitation settings, I’ve noticed tennis balls typically need replacement every 2-3 months with daily use, or up to 6 months with occasional use.
Worn tennis balls create several problems:
- Reduced stability on slippery surfaces
- Increased noise during movement
- Potential floor damage as the protective layer thins
- Higher risk of the ball detaching unexpectedly
The replacement process mirrors the initial installation. Remove the old tennis balls by firmly pulling them off the walker legs, then attach fresh ones using the same cutting and fitting technique. Many of my clients keep spare pre-cut tennis balls ready for quick changes when needed.
For outdoor walkers, inspect the balls more frequently as rough pavement accelerates wear. Tennis balls used primarily on carpet last significantly longer than those used on concrete or asphalt. One of my rehabilitation patients tracked her usage and found her tennis balls lasted 3 times longer on indoor surfaces compared to outdoor paths.
Clean your tennis balls monthly with mild soap and water to remove dirt buildup that can affect grip. Allow them to dry completely before reattaching to prevent moisture damage to your walker’s aluminum legs. This simple maintenance routine extends the lifespan of your tennis ball attachments and maintains their effectiveness as walker glides.
Safety Considerations When Using Tennis Balls

Tennis balls on walkers enhance mobility but require proper attention to safety details. Securing them correctly prevents accidents and ensures the walker functions optimally for users with limited mobility.
Ensuring Proper Installation
Tennis balls must fit snugly on walker legs to prevent unexpected detachment. Check that each ball covers the entire leg end with the slit firmly gripping the walker leg. The cut should be precise—tight enough to hold securely but not so tight that installation becomes difficult. After installation, tug gently on each tennis ball to verify it won’t slip off during use.
Maintaining Stability and Balance
Walker height affects stability significantly when tennis balls are added. The walker’s clearance should allow comfortable arm positioning at approximately waist height, preventing hunching or overreaching. Tennis balls can slightly alter the walker’s balance, so users need to test the modified walker on different surfaces before relying on it fully.
Regular Inspection Protocols
Inspect tennis balls weekly for signs of wear including tears, flattening, or compression. Damaged tennis balls compromise stability and floor protection, creating potential hazards. Replace worn balls immediately to maintain safety standards and optimal performance.
Surface Transition Awareness
Tennis balls perform differently across various flooring types. They provide excellent gliding on smooth surfaces but may catch unexpectedly on rough textures. Practice transitioning between different surfaces like carpet to tile or indoor to outdoor areas when first using tennis ball-equipped walkers.
Professional Consultation
“I’ve worked with dozens of seniors adapting mobility aids,” shares Azura Victoria, “and I always emphasize consulting healthcare providers before modifying walkers.” Physical therapists can offer personalized guidance on whether tennis balls suit individual mobility needs, especially for users with exact balance concerns or those recovering from surgery.
Cleaning and Hygiene
Tennis balls collect dirt and debris from floors, potentially transferring contaminants between environments. Clean the balls regularly with disinfectant wipes, particularly after outdoor use. This practice extends their lifespan and prevents the spread of germs, especially important in healthcare settings.
Weather and Environmental Factors
Tennis balls can become slippery when wet, creating dangerous conditions. Avoid using tennis ball-equipped walkers on rainy days without additional precautions. During winter months, moisture from snow can freeze on tennis balls, reducing traction and increasing fall risks.
Conclusion
Adding tennis balls to your walker is a simple DIY project that significantly enhances mobility while protecting your floors. This budget-friendly modification provides smoother movement across various surfaces with less effort and noise.
Whether you choose standard tennis balls or commercial glides depends on your exact needs and budget. Remember to regularly inspect and replace these attachments every few months with daily use to maintain optimal performance.
With proper installation and maintenance you’ll enjoy greater independence and confidence in your movements. This small adaptation makes a remarkable difference in comfort and functionality making it well worth the minimal time investment.
Your walker should support your mobility not hinder it and tennis balls offer an accessible way to transform your experience.
Frequently Asked Questions
Why should I put tennis balls on my walker?
Tennis balls on walker legs reduce friction, creating smoother movement across various surfaces. They absorb small bumps, enhance traction, reduce noise, and prevent floor scratches. This simple modification makes maneuvering easier, conserves energy during extended use, and provides stability, particularly beneficial for seniors and those recovering from injuries. Tennis balls are also much more cost-effective than commercial walker glides.
How do I attach tennis balls to my walker?
First, gather tennis balls, a utility knife, and something to stabilize the ball. Make a small X-shaped cut in each ball. Press the walker leg firmly into the opening until the ball is securely attached. Test each attachment by moving the walker to ensure stability. The entire process takes about five minutes and requires no special tools or skills.
How often should tennis balls be replaced on a walker?
Inspect tennis balls weekly for signs of wear such as flattening, tearing, or excessive dirt buildup. With daily use, plan to replace them every 2-3 months. More frequent replacement may be necessary for outdoor use or on rough surfaces. Keep spare pre-cut tennis balls on hand for quick changes. Regular maintenance ensures continued stability and floor protection.
Are tennis balls safe for all walker users?
While generally safe, tennis balls should be installed properly to prevent accidents. Ensure they fit snugly on walker legs and regularly check for wear. Users should practice transitioning between different surfaces as tennis balls perform differently on carpet versus hardwood. Consult healthcare providers for personalized guidance, especially for those with specific mobility needs. Avoid using in wet conditions to prevent slipping.
What alternatives exist to tennis balls for walkers?
Pre-cut tennis balls are available for those with limited hand strength, eliminating the need for cutting. Commercial walker glides offer a more durable and refined solution with enhanced traction and longevity. Although they have a higher initial cost than tennis balls, glides often last significantly longer, making them more economical in the long run for frequent walker users.
Do tennis balls work on all surfaces?
Tennis balls perform well on most indoor surfaces including carpet, tile, and hardwood floors. They provide improved traction on smooth surfaces and make transitioning between different flooring types easier. For outdoor use, they offer enhanced stability on sidewalks and paved paths. However, performance may be limited on extremely rough terrain, deep carpet, or in wet conditions.